How to Fit a Backpack Properly: The Step Most Buyers Skip
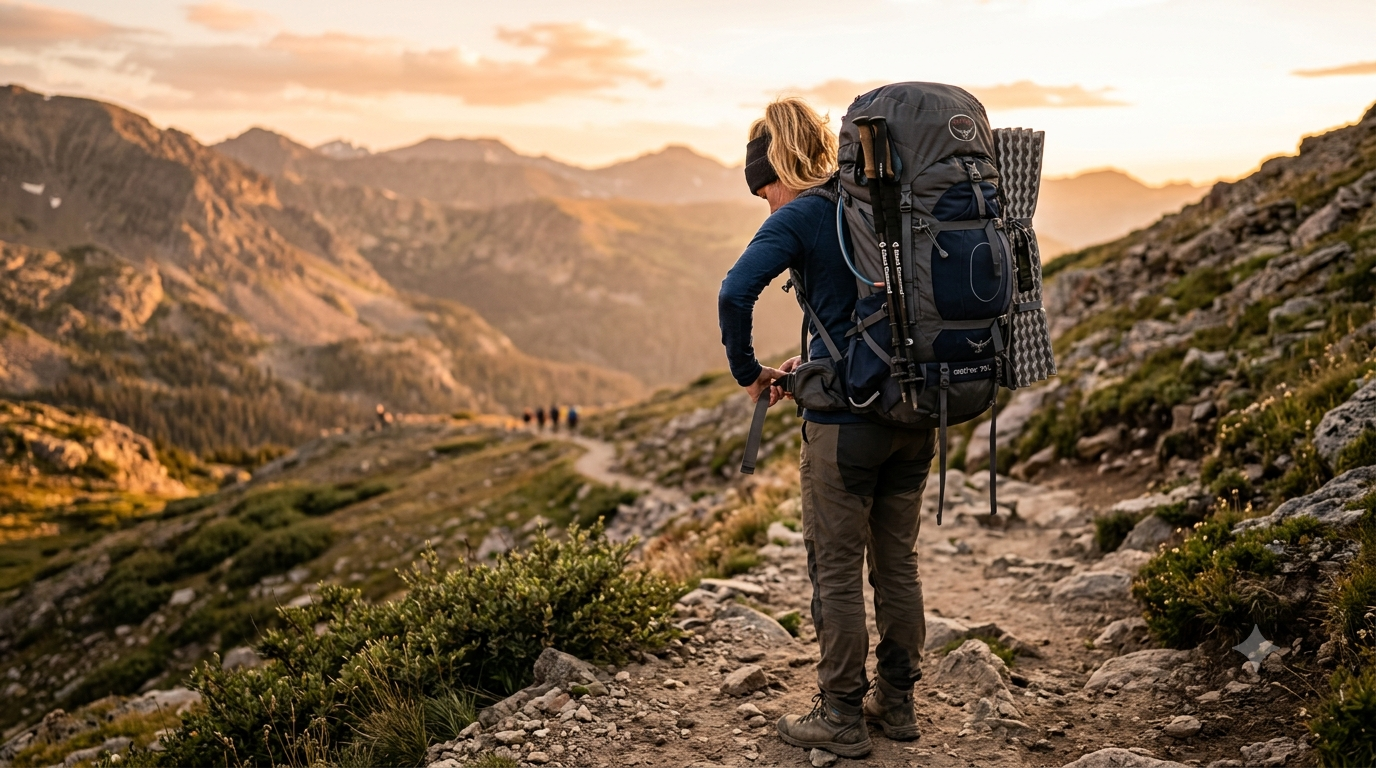
More backpacking discomfort comes from a poorly fitted pack than from a poorly made one. A well-fitted mid-tier pack will outperform an expensive pack that doesn't match your torso — every time. Here's how to get the fit right, whether you're buying new or adjusting one you already own.
Torso Length, Not Height, Determines Your Size
This is the single most misunderstood part of backpack fitting. Two people the same height can need completely different pack sizes, because torso length varies independently of leg length.
How to measure your torso:
- Tilt your head forward and find the bony bump at the base of your neck (the C7 vertebra)
- Place your hands on your hip bones with thumbs pointing toward your spine
- The imaginary line between your thumbs is the bottom measurement point (the iliac crest)
- Measure the distance between those two points along the curve of your spine
Most manufacturers publish a torso range for each frame size. Buy for that number, not for your height.
Hip Belt Sizing Is Separate
Your hip belt should wrap the iliac crest — the top of your hip bones — not your waist. Many packs offer interchangeable hip belts precisely because torso length and hip circumference don't correlate reliably. If the belt sits on your waist or slides down onto your hips' widest point, the load transfer won't work properly.
The Load Should Sit on Your Hips, Not Your Shoulders
A correctly fitted backpack transfers roughly 70-80% of the weight to your hips through the hip belt. Your shoulder straps are there to stabilize the load, not carry it. If your shoulders are aching after a few miles, the fit is wrong — not the pack.
Step-by-Step Adjustment Sequence
Order matters. Adjust in this sequence, with the pack loaded to roughly the weight you'll actually carry:
1. Loosen everything first. Shoulder straps, load lifters, hip belt, sternum strap — all slack.
2. Position and tighten the hip belt. Center the padding over your iliac crest, then tighten until snug. This is the foundation; everything else builds on it.
3. Snug the shoulder straps. Pull them down and back until they contour to your shoulders without lifting weight off your hips. They should touch your shoulders but not bear the load.
4. Set the load lifters. These are the small straps running from the top of the shoulder straps to the pack body. Aim for roughly a 45-degree angle. They should pull the pack body toward you, not lift the shoulder straps off your shoulders.
5. Fasten and adjust the sternum strap. Position it a few inches below your collarbone. It should keep the shoulder straps from sliding outward without compressing your chest or restricting breathing.
6. Fine-tune the stabilizer straps on the hip belt, which pull the lower pack body closer to your body and reduce sway.
Common Fit Problems and What They Mean
| Symptom | Likely cause |
|---|---|
| Shoulders sore, hips fine | Load not transferring — hip belt too loose or positioned too low |
| Hip bones bruised or chafed | Belt too tight, or positioned wrong on the iliac crest |
| Pack pulls backward, feels unstable | Load lifters too loose, or heavy items packed too far from your back |
| Gap between shoulder straps and shoulders | Torso length too long for you — wrong frame size |
| Straps dig into neck/inner shoulders | Torso length too short, or sternum strap too tight |
Packing Affects Fit, Too
Even a perfectly adjusted pack will feel unstable if it's loaded badly. As a general rule:
- Heaviest items close to your back, at roughly mid-back height
- Medium weight around and above the heavy core
- Light, bulky items (sleeping bag, spare clothing) at the bottom
- Frequently needed items in lid, hip belt pockets, or side pockets
Putting heavy gear at the top or far from your back shifts your center of gravity and makes the pack feel heavier than it is.
Re-Adjust On the Trail
Fit isn't set-and-forget. As you burn calories, drink water, and shed layers, both your body and the pack weight change. Loosening the hip belt slightly on climbs and re-tightening on descents is normal — most experienced backpackers adjust several times a day.
Final Thoughts
Getting the fit right costs nothing and improves comfort more than almost any gear upgrade. Measure your torso before you buy, adjust in the correct sequence with real weight in the pack, and treat fit as something you tune throughout the day rather than set once at the trailhead. If you're weighing where a new pack fits into your overall budget, see our breakdown of backpacking gear by budget.
Reviewed by OmniReview
OmniReview is the editorial team behind Gear Rescue Guide. We build every guide from manufacturer documentation, published test standards, and long-term owner reports, and add our own hands-on impressions whenever we've had the chance to use the gear directly — we don't claim to have tested every product we cover. See our How We Review page for the full process.